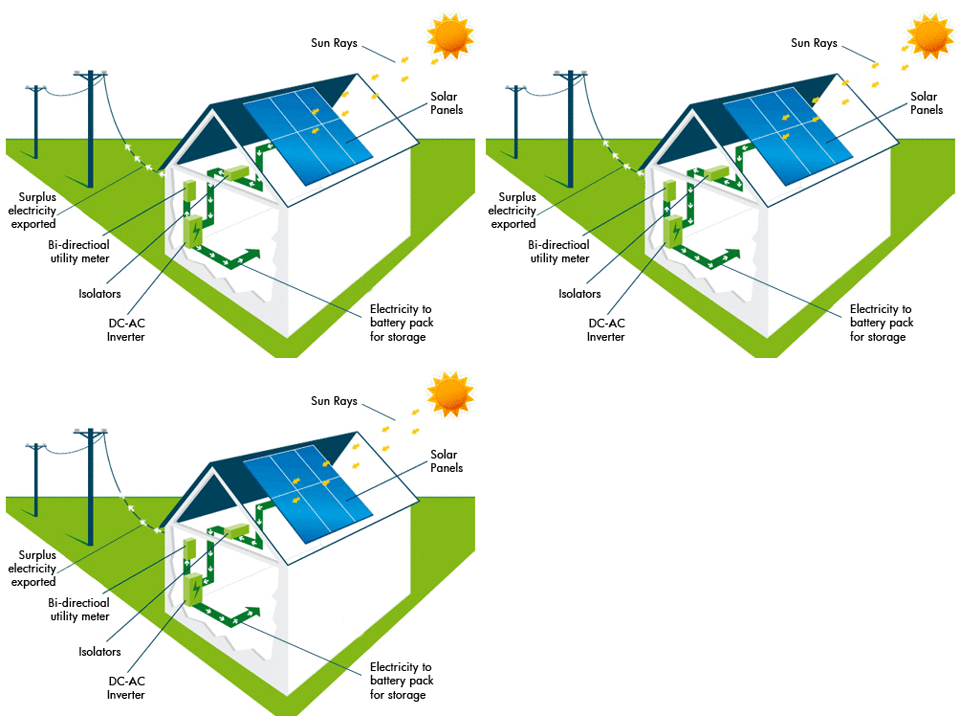
Installing the Axpert KING II TWIN 6KW Hybrid Inverter requires careful attention to safety and following the manufacturer’s instructions. Here is a comprehensive, step-by-step guide to help you with the installation process:
Before you begin, ensure that you have read the user manual provided by the manufacturer. The manual will contain specific instructions and safety guidelines that you must follow.
Step 1: Safety Precautions
- Ensure that the main power supply to your home or building is turned off before starting the installation process. This will prevent any accidents or electrical shocks.
- Use proper personal protective equipment (PPE) such as gloves and safety goggles to ensure your safety while working with electrical components.
Step 2: Unpack and Inspect the Axpert KING II TWIN Inverter
- Carefully unpack the Axpert KING II TWIN 6KW Hybrid Inverter and inspect it for any physical damage that may have occurred during transportation. If you notice any damage, contact the manufacturer or supplier for further instructions.
Step 3: Mounting the Axpert KING II TWIN Inverter
- Select a suitable location for mounting the inverter. It should be a well-ventilated area with sufficient clearance for airflow and maintenance.
- Ensure that the mounting surface is sturdy and capable of supporting the weight of the inverter.
- Attach the mounting brackets to the inverter following the manufacturer’s instructions.
- Securely mount the inverter on the chosen surface using screws or bolts. Make sure it is level and stable.
Step 4: Electrical Connections
- Refer to the user manual for detailed electrical specifications, including wire sizes and connection diagrams.
- Connect the DC input terminals of the inverter to the battery bank. Ensure that the positive (+) and negative (-) terminals are correctly connected.
- Connect the AC output terminals of the inverter to the main distribution panel or load center. This will allow the inverter to supply power to your home or building.
- If your inverter supports solar panel connections, refer to the manual for specific instructions on connecting the solar panels to the inverter.
Step 5: Earthing (Grounding)
- Proper earthing (grounding) is crucial for safety and optimal performance.
- Connect the earthing cable provided with the inverter to the designated earthing terminal on the inverter.
- Connect the other end of the earthing cable to a suitable earth electrode, such as a grounding rod, as per local electrical codes.
Step 6: Configuring the Axpert KING II TWIN Inverter
- Power on the inverter by switching it on according to the manufacturer’s instructions.
- Configure the inverter settings as required. This may include parameters such as battery type, charging voltage, output frequency, and grid-tie settings.
- Consult the user manual for detailed instructions on configuring the inverter. If you are unsure about any settings, it is advisable to seek professional assistance.
Step 7: Testing and Commissioning
- Once the inverter is properly connected and configured, it’s time to perform a series of tests to ensure everything is functioning correctly.
- Check the display panel of the inverter for any error codes or warning messages. Refer to the user manual to troubleshoot and resolve any issues.
- Test the inverter’s functionality by connecting a load and ensuring it receives power from the inverter.
- If you have solar panels connected to the inverter, check if the inverter is successfully harvesting energy from the solar panels and feeding it into the battery bank or the grid.
It is important to note that this guide provides a general overview of the installation process. The specific steps and requirements may vary depending on the model and specifications of the Axpert KING II TWIN 6KW Hybrid Inverter. Always consult the user manual provided by the manufacturer for detailed and accurate instructions. If you are unsure about any aspect of the installation, it is advisable to seek professional assistance from a qualified electrician or technician.


